

In the meantime, though, I've taken advantage of some weekend time to work on a small project so that I can finally post about our new couch! Since I moved to Boston, we've had a much-loved sofabed that I inherited from my grandmother. There are photos of me on it as a small child at my grandma's lakehouse. We were sad to say goodbye, but it had reached the end of its life after a multi-decade run.
After searching for some affordable yet attractive options, we settled on the Karlstad in sivik gray from IKEA. I hate the idea of having a totally generic IKEA home, but the price just couldn't be beat and I really liked the style more than many things I was finding for more than three times the price. So after some debate on the showroom floor about what color slipcover to get, we took this baby home:

Obviously this photo was not taken in our living room. I decided to make some adjustments to make it a little more personal, and I forgot to take a before picture.
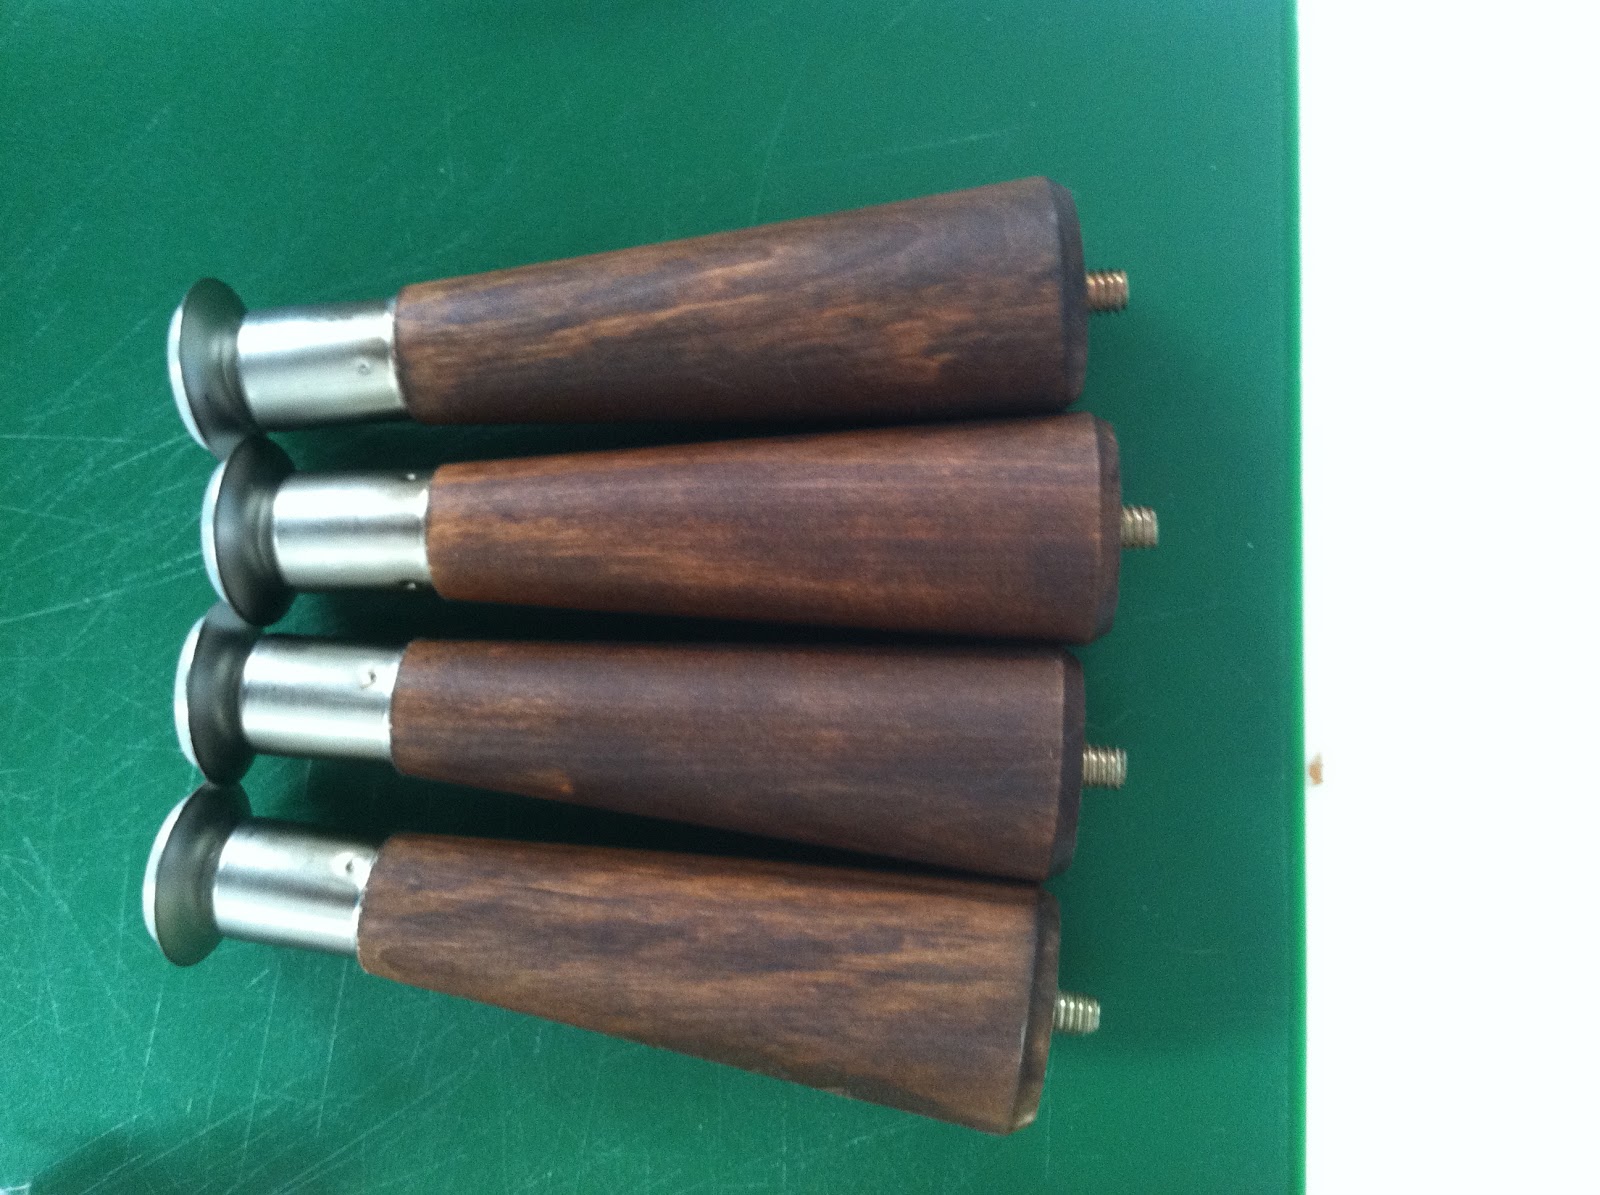
Primarily, I wanted to replace the legs on the sofa, which to me just scream "IKEA." I felt like just switching out the legs could make it look so much more upscale and custom. I was actually able to find some tapered legs at my local hardware store that I liked:

I stained them using Minwax English Chestnut, and then applied a coat of Minwax wipe-on poly.
After they dried, I was ready to attach them to the couch! The hanger bolt on the new legs (the screw that sticks out the end) turned out to be the same size as the ones on the original IKEA legs, so I was able to just screw them into the existing holes. This was was relief since otherwise I would have needed to use hardware like a t-plate or t-nuts for this (not to be confused with t-accounts -- that's a little accounting joke for you, har har) to mount the new legs. I did pry off the plastic in each corner around the holes, since the bolts coming out of the new legs were relatively short and I wanted to be sure they screwed in as far as possible into the frame. I also lengthened the bolts just a little by using pliers to twist them a bit further out of the leg (the bolt drilled into the leg a ways, with the end sticking out -- so I was just decreasing the amount of it buried in the leg and increasing the amount sticking out).
Anyway, here's a shot of the plastic in the corner:

I just used a flathead screwdriver and hammered the end of it like a chisel to pry off the plastic. There are two holes since the IKEA legs used one for the bolt and one for a dowel for extra steadiness -- I didn't need this since my new legs were much narrower.
New leg mounted:

With Sam's help, I flipped the couch back upright, and that was it. Here's a close up on the old legs and the new legs:


And here's the new, slightly modified couch in all its glory:

I'm quite pleased! I do think it changes the look for the better both for the standalone couch, and for tying it into the rest of the apartment which has a more mid-century modern vibe going on (as opposed to just modern, which is what IKEA -- and those original legs -- tends to be). Right now we have a super modern coffee table that is driving me crazy with how much it clashes with the rest of the apartment, but I have a great update in mind that I think will completely transform it and allow it to tie in much better. It might be awhile before I find the time to go to Home Depot to get the plywood I need, but I -- and you all -- will just have to be patient!
One other thing I wanted to do for the couch was a throw blanket, to help keep it protected from Owen as much as possible. Throw blankets are ridiculously expensive, but I managed to find a Mexican blanket on Amazon that I liked for a very reasonable $15. The only catch was that it comes in a variety of colors, and I didn't get to specify which one I'd get -- so I had to take my chances. When it first arrived I wasn't sure if I was sold because it had a lot of pink in it, but I realized that it had dark tones that tied nicely to the couch.
Before just throwing it on there, I decided to add a little extra protection against any possible cat accidents, spills, etc. by sewing a shower curtain liner to the underside of the blanket. No liquids can penetrate through the blanket on the couch now, but it's still completely comfortable and doesn't feel like you're sitting on plastic or anything (the blanket is nice and thick).

I do like the couch better without the throw, but at least I have peace of mind that the couch will be better protected against wear and tear, and we can always take it off when we have company.
So that's the couch project! It felt good to tackle something in our apartment after so many weeks off, and I hope I'll find time to fit in occasional projects as school picks up!
No comments:
Post a Comment