

So let's see...first, I decided I wanted to paint Sam's bedside lamp -- which he'd found at a thrift store years ago before he moved to Boston -- and get a new shade for it. I've scoured the photo archives, and this is literally the only "before" photo I could find - it's from 2009 when we lived in Central Square, and yes there is a red curtain accidentally draped over part of the lamp. Yeah, not the best photo.

I thought it was wood for the first few years, and then one day I touched it and discovered it was actually metal painted to look like wood. Hmmmm.
Anyway, I decided to spray paint it white, but something went horribly wrong - some sort of bad reaction between the spray paint and the metal or the brown topcoat, maybe? I should have done a layer of primer first.... In any case, the paint was super lumpy and uneven. Clearly destroying my boyfriend's possessions was not going to be the best way to keep him on board with my DIY hobby. I assumed the "dear, would you mind if I painted x?" conversation would start going considerably worse when he could say "last time you asked me that, you ruined my favorite lamp." So, off I went to Goodwill to see if I could find a new bedside lamp that he would like even better. And, in a very bizarre turn of events, I found an exact replica of the one he already had. Basically the best outcome I could have hoped for.
Of course, I decided I still wanted to paint that sucker white, and this time I used regular paint and a paint brush rather than spray paint. The result was much smoother, and I realized that if I could salvage the first lamp then I'd end up with a matching set of lamps for either side of the bed. So I sanded the first one in the places where the spray paint was particularly uneven, and then painted over with another few coats of white paint. Then I bought two plain white drum shades at Target, and tada, matching bedside lamps! I decided I wanted to make the one on my side of the bed a little more girly, though, so I glued some decorative piping around the bottom of the shade and clipped a flower hair clip to the top. Now we've got his and hers bedsides lamps:
His:

So stoic and manly.
And hers (aka mine):

I also wanted to add some art to either side of the window behind the bed. I liked the idea of doing something similar to the lamps, something that would lend symmetry but not be 100% identical. As usual I trolled the internet looking for inspiration, and a few textured pieces caught my attention, like these:

For some reason I thought about the idea of using doilies to create a similar look. I happened to be visiting my mom, and her house is like the best ever place to go shopping. She and Fred have a basement full of treasures, which they always seem to be thrilled to bequeath to their offspring. I asked her if she might have any spare doilies on hand, we commenced a search of some boxes in the basement, and within 10 minutes we'd found a number of gorgeous doilies from both her mother and Fred's. They generously agreed to let me take several back to Boston with me.
The next step was to find some frames of the right size, which I procured at Goodwill and painted white. I also needed some fabric, and wanted something light gray and linen-like. I found something that fit the bill at a local fabric store. Then it was just a matter of cutting the linen, ironing it (using the fabulous iron and ironing board my mom and Fred gave me for Christmas!), laying out the doilies in a pattern I liked, and then hanging the frames on either side of our bed at the same height.
Here's one:

And the other:

And a view of both:

Aren't those doilies lovely? I hung the frames level with one another even though our bedside tables are different heights. I do like the gesture at symmetry without things being totally identical.
Lastly, the pintuck duvet. This is a style that seems to be all over the place lately, and lots of folks have started DIYing them to make more affordable versions. I decided I wanted a new duvet cover that was white to lighten up the room, and what else could I do besides jump on the pintuck bandwagon?
There are a number of tutorials online, and I roughly followed this one for my version. First, I bought two king size flat white sheets. Eventually, I'd sew these together to form the duvet cover. Our bed is a queen, but I wanted a bigger sheet since the pintucks would use some fabric and I wanted to be sure I didn't end up with something too small for our duvet. To make the pintucks, I first laid the sheet out on the floor (okay, first I vacuumed), then using the grid lines that were already there from the way the sheet was folded in the packaging I placed sewing pins in the places where I wanted to make the pintucks. Kind of hard to see the pins in this photo, but they roughly follow the fold gridlines:

Here's what it looked like up close, so once I picked it up off the floor I'd know I just needed to sew wherever there was a yellow pin:

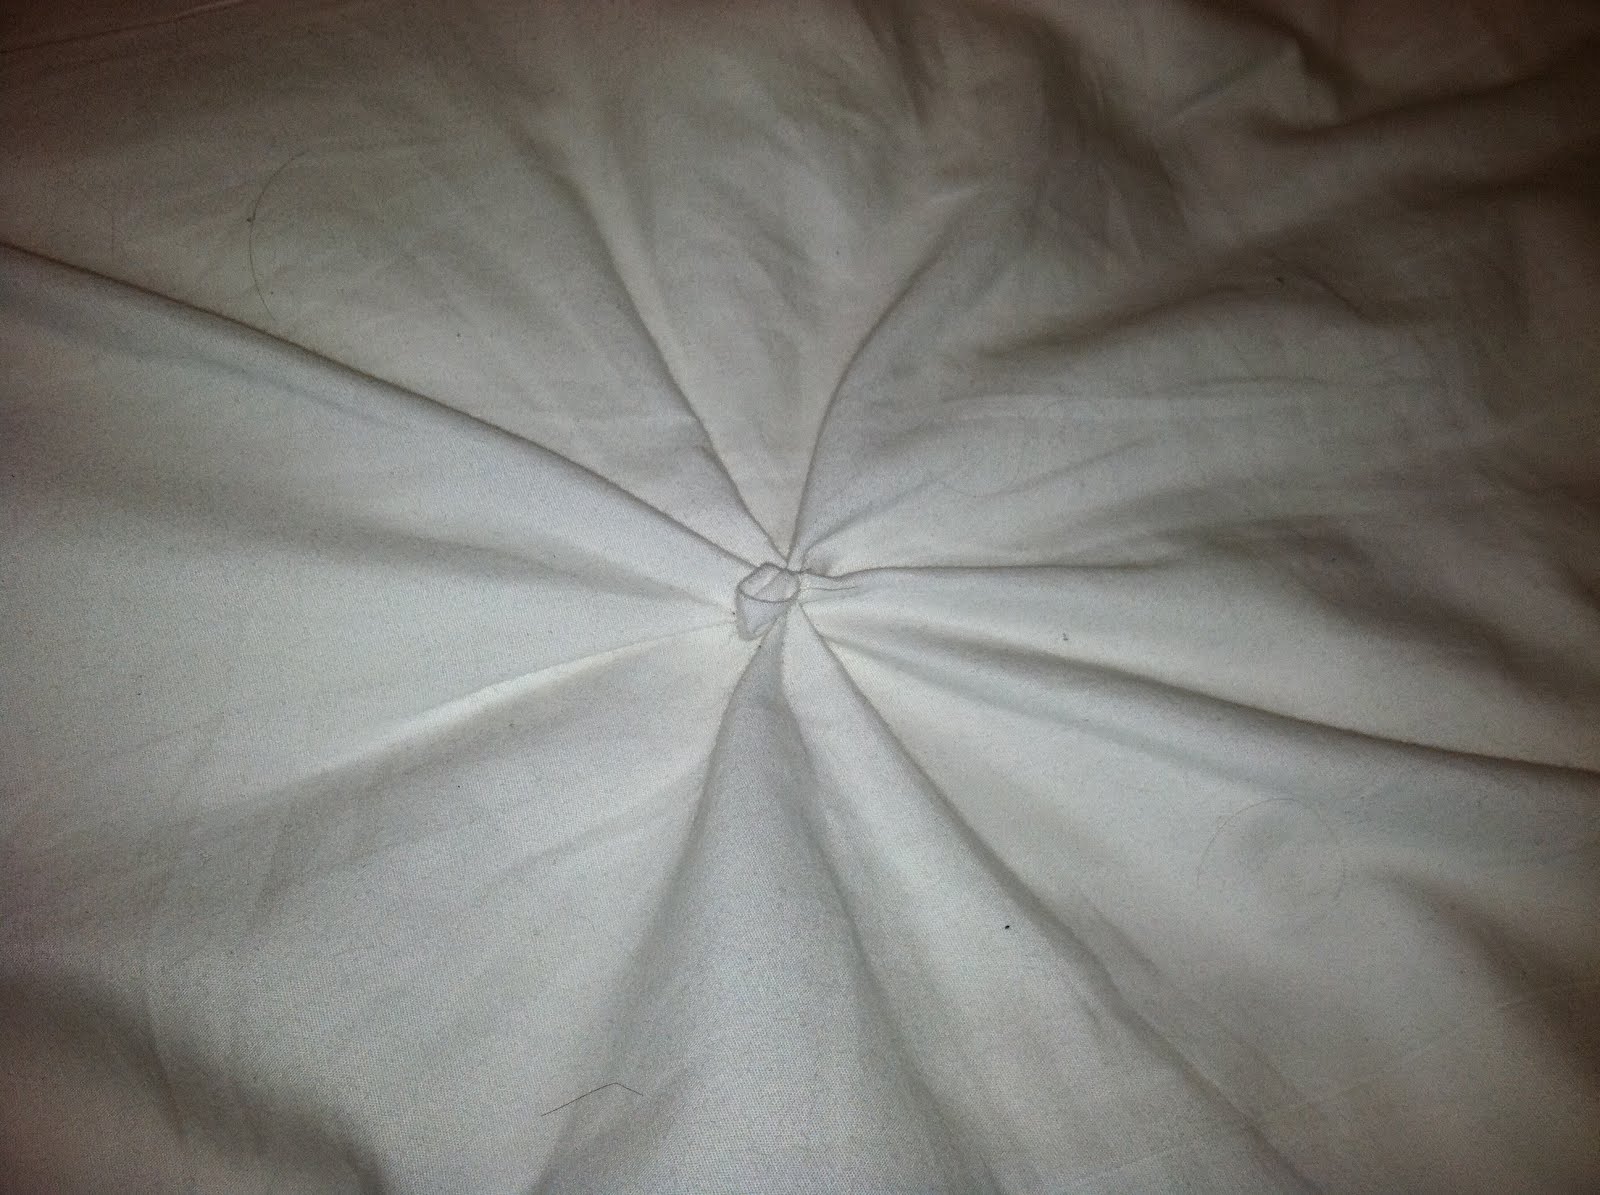
What do I mean by "pintucks"? Basically, I wanted to create little puckers of twisted fabric. I made these on my sewing machine - I just worked my way across the sheet, finding and removing each pin, twisting up the fabric where the pin had been, and sewing back and forth a few times across the tip like so:

Then laying flat, it looks like this:
Once I'd done them all, I cut the sheets to the right final size to fit our duvet, sewed them together (right side facing in and then flipping it right-side-out with the sheet with the pintucks on top and a small unsewed space at the bottom for inserting the duvet), then stuffed the duvet in the hole I left at the bottom, laid it on the bed, and voila.

I like the texture it adds, while not being too flashy or overbearing.
I'm working on layering some more color into the room over time, but I have to say I'm still really liking the gray and yellow combo.
No comments:
Post a Comment