
I decided we needed a mirror in our entry hallway to open things up a bit. I've found craigslist to be a great source for this kind of thing (I got a pretty big mirror for above the mantle for $20, sure to be described further in a later post), and sure enough I found something I thought would do the trick. Only issues: 1) The frame was painted with gold paint that started coming off in gross chunks all over my hands as I carried it home (I knew the color wasn't a keeper when I decided to buy it, though), and 2) some of the decorative trim around the edges was broken off. I gave it a few coats of white spray paint to solve the color issue, then glued a rose from my Grandma Mammen's memorial service that I'd saved and dried into the space missing some trim at the bottom. It already had a wire for mounting. Easy peasy, new hallway mirror! One of these days I may repaint it something a little more dramatic, but this was during my "when in doubt, paint it white" phase.

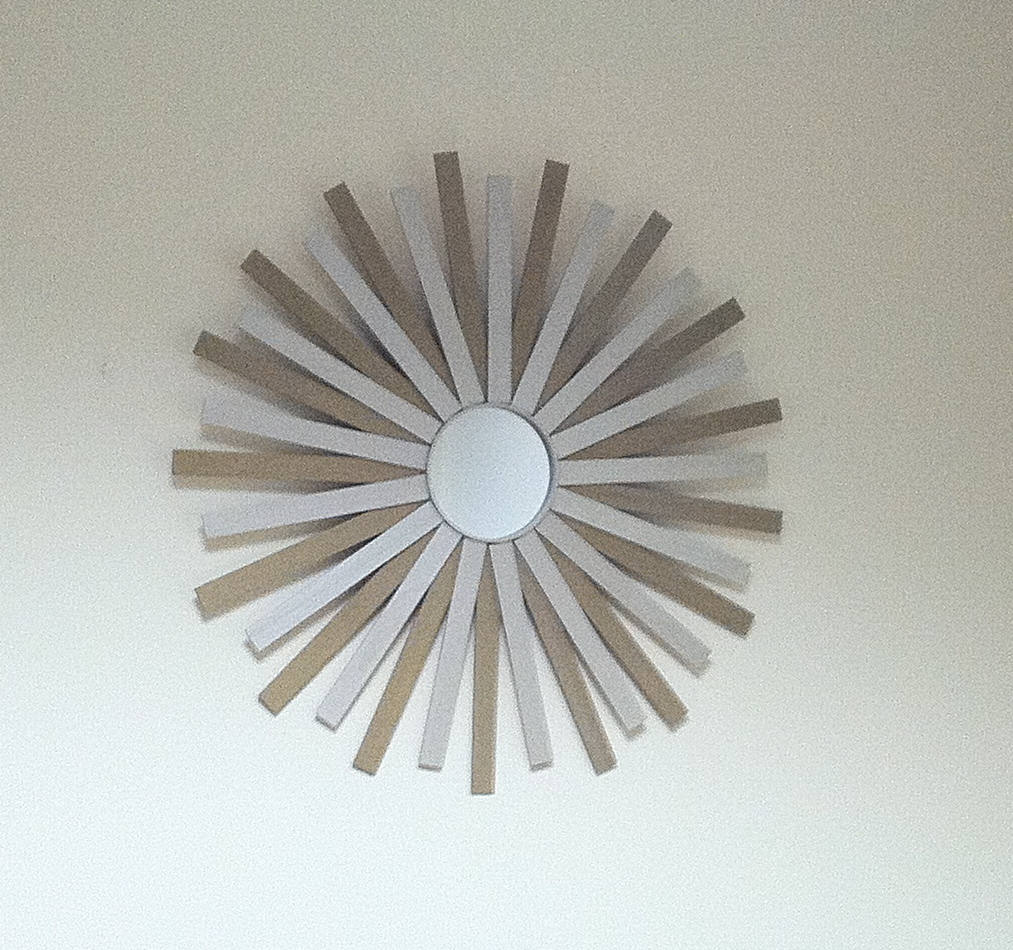
Sticking with the theme of mirrors, I decided to give a sunburst mirror a try after seeing a fantastic DIY version on one of my favorite blogs - Centsational Girl - made out of paint stirrers. Seriously, she's amazing (http://www.centsationalgirl.com/2011/04/diy-paint-stick-sunburst-mirror/). Anyway, I basically just followed her instructions, though whenever there are supplies found only at a craft store I have the added extra step of "rent a car so I can drive to Michael's." I have a hardware store within walking distance and a sewing/fabric shop within bus or running distance (yeah, on occasion I've decided to kill two birds with one stone and literally "run errands"), but no craft stores nearby. Thank goodness for Zipcar.

Tada! Not as beautiful as Kate's, though this photo is also pretty terrible quality. I convinced a local hardware store to sell me a bunch of paint stirrers for a few dollars so I didn't have to be patient and collect them over time like Kate did. I also had to buy a hack saw to trim the ends off, but it's a tool I was glad to add to my collection.
It was hanging on the wall of my office for awhile, but has now migrated home as part of the ongoing bedroom makeover. The office wall looks sad and bare now, but I figure everything has to come home in four (eek!) months anyway since I'm done there in June, so if I have a use for it in the apartment now I may as well go for it. So excited to share pictures of the finished bedroom, just have to wrap up one last piece (sewing a duvet cover...).
Lastly, a departure from the bland color palette of projects past. I decided the hallway needed some color, as well as a place to sit and put on shoes (or, more accurately, pile mail, purses, hats, mittens, etc...). I found a wicker bench on craigslist (wish I had remembered to get a "before" picture), which I primed with two coats of spray-on primer (spray paint is much easier for this sort of project, where it would be hard to get an even coat by hand), then applied several coats of high gloss yellow spray paint. The photo doesn't do the yellow complete justice - that sucker is really really yellow. The top of the bench was wicker as well, and I decided to jazz it up a bit by putting down some batting then stapling a layer of fabric over. To hide the staples, I used some upholstery cord around the edges. Lastly, I made a matching button (not super visible in this photo, it's in the center of the bench) using a button-making kit.
Actually attaching the button was a challenge. As usual, I played a little game I like to call "this can't be how the pros do it..." - I drilled a hole through the underside of the bench, threaded a needle, glued the end of the thread to the underside of the bench, threaded the needle through the hole, batting, and fabric so it was on the top side of the bench, threaded it through the clasp on the underside of the button, then threaded it back through the fabric, batting, and hole, and then glued the other end of the thread to the underside of the bench so the whole thing stayed taut. I used hot glue so it dried very quickly (I needed to pull the thread tight until it dried in place, which would have been a pain with slower-drying glue). Yeah, that can't be how the pros do it...
No comments:
Post a Comment